Have you ever wondered how websites are created? Maybe you've heard about HTML, CSS, and JavaScript, but you're not quite sure what they are and how they work together to make the websites we use every day. Well, you're in the right place! In this article, we'll take a beginner-friendly journey into the world of web development, where we'll explore HTML, CSS, JavaScript, and the magic that happens behind the scenes to make websites come to life.
What is HTML?
HTML stands for HyperText Markup Language. Don't let the fancy name scare you; HTML is the backbone of every web page. It's like the skeleton of a website. HTML uses tags to structure content, such as text, images, links, and more. These tags tell web browsers how to display the content. For example, the <h1> tag is used for headings, while the <p> tag is used for paragraphs. HTML provides the structure and content of a webpage.
What is CSS?
Cascading Style Sheets, or CSS for short, is the artist's palette of web development. While HTML provides the structure, CSS adds style and design to web pages. Think of it as the paint and brushes that make a painting beautiful. CSS allows you to control the colors, fonts, spacing, and layout of your web page. You can change the background color, make text bold or italic, and position elements precisely where you want them.
What is JavaScript?
Now, it's time to add some interactivity to our web page. That's where JavaScript comes in. JavaScript is a programming language that enables you to create dynamic and interactive web pages. It's like the brain of a website, making it respond to user actions. You can use JavaScript to build forms, create animations, and update content without needing to refresh the entire page. It's what makes websites feel alive.
How Do Websites Work?
Now that we know about HTML, CSS, and JavaScript, let's see how these technologies work together to create a functional website.
- User's Request: It all starts when you type a web address (URL) into your browser and hit enter. Your browser sends a request to the web server hosting the website you want to visit.
- Server Processing: The web server receives the request and processes it. If the request is for a webpage, the server uses server-side technologies like PHP or Python to fetch data from a database or perform other tasks.
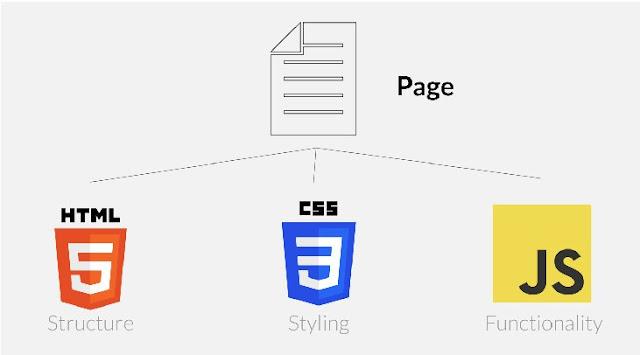
- HTML Generation: The server combines HTML, CSS, and JavaScript to create a web page. HTML structures the content, CSS styles it, and JavaScript adds interactivity.
- Sending the Page: The server sends the generated webpage back to your browser.
- Browser Rendering: Your browser receives the webpage and interprets the HTML, CSS, and JavaScript. It displays the page as you see it on your screen.
- User Interaction: As you interact with the webpage (clicking links, filling out forms, etc.), JavaScript processes these actions and can make requests to the server to update content dynamically.
- Repeat: This process repeats every time you click a link or perform an action on the webpage, creating a seamless user experience.
In a nutshell, HTML structures content, CSS styles it, and JavaScript adds interactivity, while the web server handles data processing and retrieval. Together, they bring websites to life!
Understanding HTML, CSS, and JavaScript is the first step on your journey to becoming a web developer. These technologies work hand in hand to create the web pages we use daily. Whether you're interested in building your own website or exploring a career in web dev


Comments
Post a Comment